

Co-witness means you can see your rifle’s iron sights through the window of your red dot. There are two common versions. In an absolute co-witness, the irons sit in the middle of the window. In a lower 1/3 co-witness, the irons sit in the bottom third of the window, and the dot sits higher. The difference comes down to how tall the optic sits above the rail.
This post explains how each one looks, what each costs you, and how to pick. It is general information from optic and mount makers. Your gun, your sights and your eyes decide the rest.
What Is Co-Witness on a Red Dot?
You have a red dot on top and a set of iron sights, often a front post and a rear sight, below. If the heights line up the right way, you see both when you look through the dot’s window. As GunTalk describes it, the irons serve as a backup if the optic fails.
ProArmory puts the two versions this way:
- Absolute co-witness: The iron sights sit in the center of the optic window, with the front post beside the dot.
- Lower 1/3 co-witness: The irons drop to the bottom third of the window, and the dot sits in the upper part.
How Do the Two Co-Witness Setups Look and Feel?
Absolute co-witness
You see the front and rear sights lined up with the dot, all in one line. Optics-Trade says this feels natural, and that your head and shoulder posture stay the same whether you use the dot or the sights.
Pew Pew Tactical lists these pluses:
- You keep one cheek weld for both sight systems.
- The optic sits lower, which reduces the rifle’s profile.
- Special front sight tips, like night sights, are easier to use.
The price you pay is a busier window. Optics-Trade says the sights can block part of the target and the dot view, and cover much of the lens. Pew Pew Tactical says fixed sights block much of the optic window, so it recommends flip-up sights for absolute co-witness.
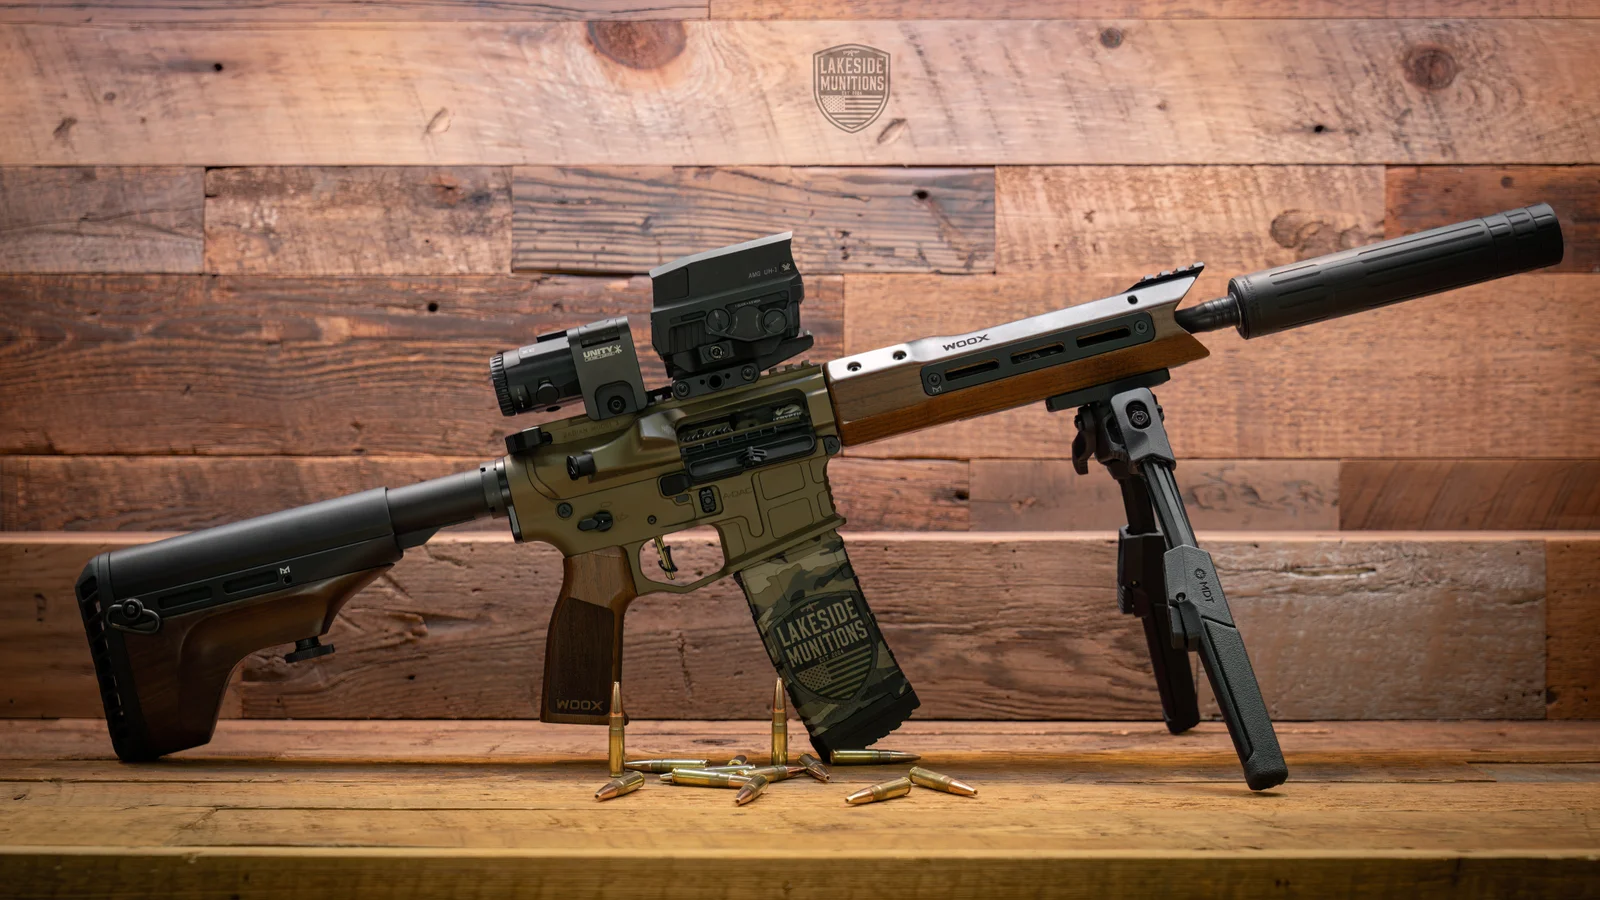
Lower 1/3 co-witness
You see mostly the dot, with the irons showing only at the bottom edge of the glass. Optics-Trade says this gives a clearer view through the lens, and the dot stands out more.
Pew Pew Tactical lists these pluses:
- You do not need flip-up sights, so it works with fixed sights and guns with fixed front sight blocks.
- The taller mount is more comfortable with bulky ear protection.
The tradeoff is head position. Pew Pew Tactical says you have to change your cheek weld to switch between the dot and the irons, and it is worth practicing. Optics-Trade adds that the sights and dot usually need to be zeroed separately.
How Tall Does the Optic Need to Sit?
This is where the two versions split, and it is mostly about the mount.
ProArmory gives AR-15 numbers for the height of the optic’s center above the rail, with mil-spec iron sights:
| Setup | Stated range above the rail |
|---|---|
| Absolute | About 1.41 to 1.53 inches |
| Lower 1/3 | About 1.57 to 1.66 inches |
ProArmory also notes that some optics fall outside these ranges, such as an EOTech model at 1.74 inches, so verify the exact figure for your optic. Heights are not standard from one maker to the next. Pew Pew Tactical uses a 0.83 inch riser for absolute co-witness and a 1 inch riser for lower 1/3, but those are for the optics and sights in its own example.
There is a simple field test. From your normal shooting position, with a full cheek weld, ProArmory says irons centered in the window mean absolute co-witness, irons low in the window mean lower 1/3, and irons you cannot see at all mean the mount is too tall.
Which Co-Witness Should You Choose?
The sources do not agree on a single best answer, and that is fair, because the answer depends on how you shoot. Pew Pew Tactical also notes that with a heads-up cheek weld on a lower 1/3 setup, the dot appears higher than the irons. And off the AR, matching sight height is, in its words, sometimes a bit of a guess. Here is a simple guide drawn from them:
| If this sounds like you | Lean toward |
|---|---|
| You want one head position for dot and irons | Absolute |
| You use flip-up iron sights | Absolute |
| You want the cleanest view through the optic | Lower 1/3 |
| Your rifle has fixed sights | Lower 1/3 |
| You shoot with bulky ear protection | Lower 1/3 |
On some guns there is no choice to make. On a pistol, GunTalk says taller “suppressor-height” iron sights show in the lower third of the optic window as a backup if the optic fails, and says the Aimpoint ACRO P-2 needs them for co-witness. It names the Trijicon HD XR and the Ameriglo GL-429 as examples. It gives no height number for them, so check the sight maker’s specs. That is a pistol topic, though, and our post on mounting a red dot on a pistol covers the slide side.
How Do You Zero Both Sight Systems?
Both sources say to zero the irons first. ProArmory says to zero the iron sights on their own, then confirm the co-witness. Pew Pew Tactical says to zero the irons with the optic off, install the optic, then adjust the dot to sit on the front sight tip.
ProArmory adds two warnings. Do not assume the optic and the irons hit the same spot at every distance, so learn where each one hits at the distances you care about. And if you use folding sights, physically check that they are raised and locked, and check them regularly.
For the dot half, our post on how to zero a red dot covers click values and steps. For the irons, see how to adjust iron sights.
What Does Lakeside Do About Co-Witness?
Choosing the height is your call, and the mount you pick is what sets it. What we do is put the optic on the gun. Our posted price for an optic mount is $45, red dot or magnified, on our gunsmithing price list. If you buy the optic from us, we install it for free. Posted prices are for a firearm in factory condition. If other changes have been made, we look at the job first.
We do not have a range at our shop, so the live-fire check happens somewhere else. If you want to talk through a mount height before you buy, ask at the counter, or contact us with your rifle, your irons and the optic you have in mind.


