

To adjust iron sights, use one rule: move the rear sight in the direction you want your shots to go, and move the front sight the opposite way. Fire a small group first, find the center of it, then change one thing at a time. That is the whole method, and it works on pistols and rifles.
This post walks through the rule, the steps, and a few examples, so you can fix a gun that shoots off to one side or too high or low. It is general how-to information. Your owner’s manual and the sight’s own markings come first.
The Rule: Front Sight Opposite, Rear Sight Same
American Rifleman teaches a short memory aid called “FORS”: Front sight Opposite, Rear sight Same. Here is what it means.
- Rear sight: Move it in the same direction you want the point of impact to move. If you want shots to go right, drift the rear sight right.
- Front sight: Move it in the opposite direction. If you want shots to go right, move the front sight left.
Athlon Outdoors gives the same rule and a clear example in its guide to adjusting iron sights: if you are hitting high and to the right, lower the rear sight and move it left. It adds that if the front sight is not adjustable, you change elevation with the rear sight.
Both sources agree, and the rule is easy to remember once you say it a few times: front opposite, rear same.
Before You Touch the Sights
Do these first.
- Make the gun safe. Unload it and check the chamber before you handle the sights.
- Shoot from a steady rest. A bag or a bench helps. Athlon notes that if you cannot get a tight group, check that the rest is stable and the gun is supported well.
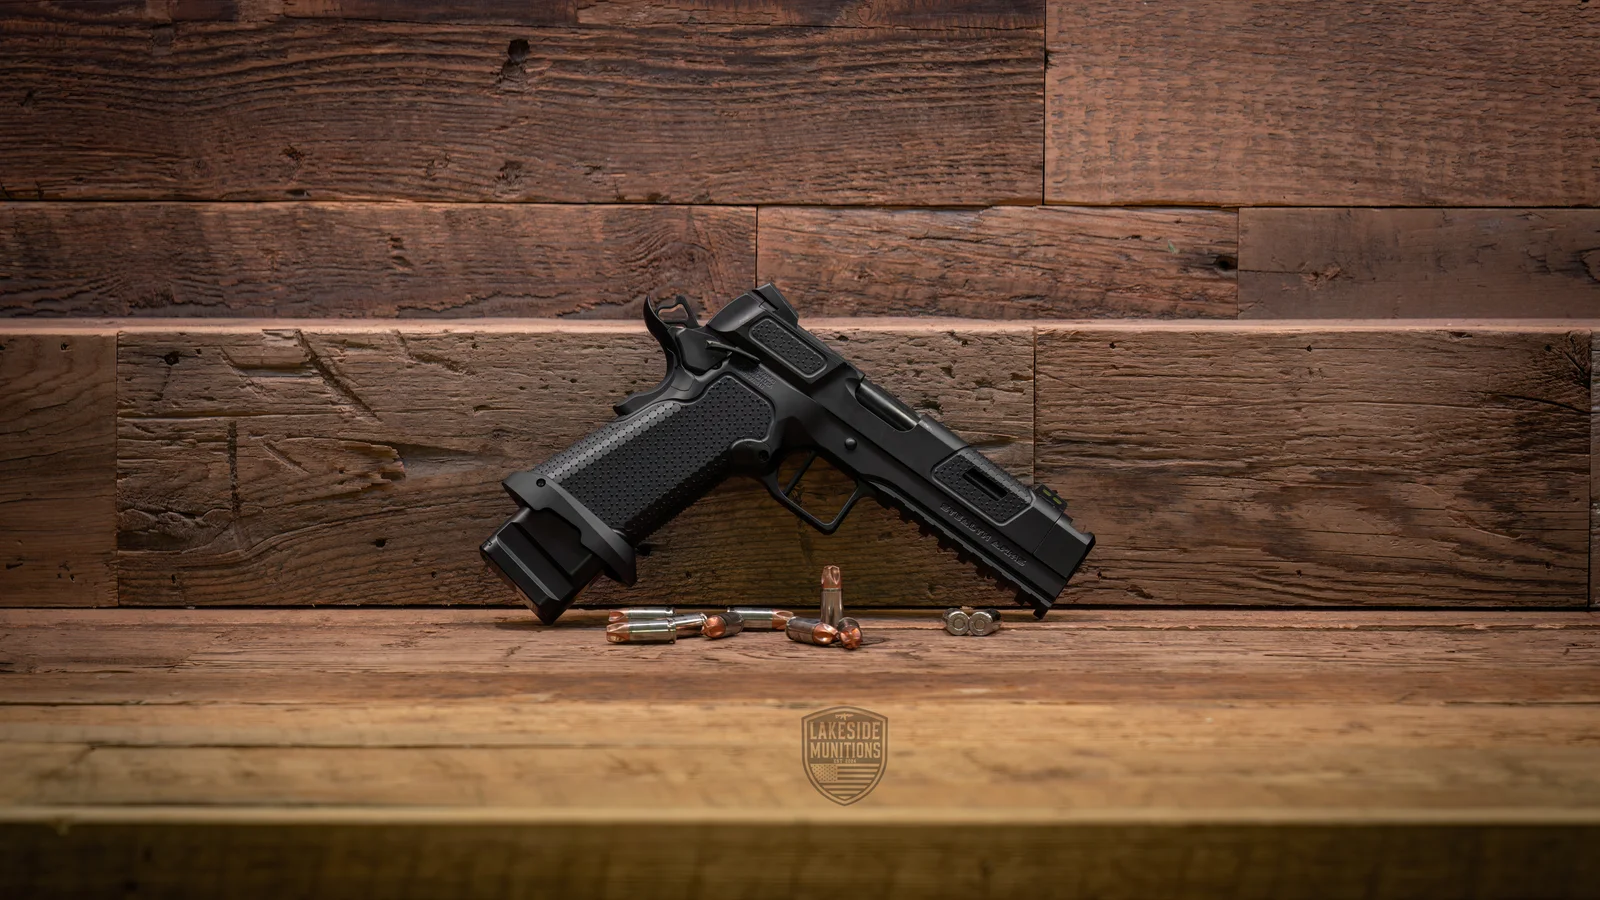
- Know your sight type. Some sights have screws or dials with arrows. Some are fixed and move by drifting in a dovetail with a tool. Some front sights are not adjustable at all. Look at the sight and at your manual.
- Pick a distance. The Army’s rifle manual, TC 3-22.9, does its grouping and zeroing at 25 meters. Athlon starts at 25 yards. If you cannot hit the paper at all, Athlon suggests bringing the target in to about 10 yards and working outward.
How to Adjust, Step by Step
- Fire a group. Athlon suggests three rounds to judge a change. The Army manual talks about five-shot groups.
- Find the center of the group. TC 3-22.9 says all sight adjustments are made from the center of the group, called the mean point of impact, and not from a single shot. If one shot is far from the others, leave it out when you judge the group.
- Measure how far off the center is. Note whether the group is high or low, and left or right of where you aimed.
- Change one axis at a time. Athlon suggests firing a group, fixing elevation, firing again, then fixing windage. Changing both at once makes it hard to see which move did what.
- Apply the FORS rule. Move the rear sight the way you want shots to go. Move the front sight the other way.
- Fire another group and repeat. Small moves are easier to judge than big ones.
Windage is left and right. Elevation is up and down. A sight’s own markings may show which way a screw moves the shots, so follow the maker’s arrows and your manual when they give a direction.
Examples
Use these as a check on the rule.
- Shots land low. You want them to go up. Raise the rear sight, or lower the front sight.
- Shots land high. You want them to go down. Lower the rear sight, or raise the front sight.
- Shots land left. You want them to go right. Drift the rear sight right, or move the front sight left.
- Shots land right. You want them to go left. Drift the rear sight left, or move the front sight right.
- Shots land high and right. You want them down and left. Lower the rear sight and move it left, as in Athlon’s example.
If the rear sight is the only part that adjusts, use it. If the rear sight is fixed, the front sight is where you change elevation.
Confirm Your Zero at the Distances You Shoot
A zero at one distance does not hold at every distance. TC 3-22.9 says that having a 25-meter zero does not mean a center hit at 300 meters, and that the only way to rely on a hit at that range is to confirm it there. It also says wind changes where shots land at longer ranges.
For most owners the lesson is simple. Zero at a close distance, then check at the farthest distance you plan to shoot, and note any change. If you hunt or shoot at longer ranges, test at those ranges. If you use a scope, how to bore sight a rifle is a good first step before you zero.
Mistakes that waste ammunition. Sight work goes faster when you avoid these.
- Chasing a single shot. One stray round is not your zero. Judge the center of the group, as TC 3-22.9 says.
- Changing both sights at once. You will not know which move helped.
- Moving the wrong sight the wrong way. Say the rule out loud before each move: front opposite, rear same.
- Big jumps. A small move and a new group tells you more than a large guess.
- Skipping the rest. If the gun is not steady, the group is not a fair test of the sights. Athlon says to check your rest first when groups will not tighten.
- Not writing it down. Note each change and the new group, so you can undo a move that did not help.
When to Get Help
Some jobs are better done by someone else. If your sight is stuck, damaged or a style you have never moved, or you have shot a group and cannot get it to come in, that is a good time to ask.
Lakeside Munitions posts a Handgun Sight Install at $40 on the gunsmithing price list, done at the shop. Posted prices are for a firearm in factory condition, and if you buy an item from Lakeside Munitions, we install it for free. Adjusting a sight is not a separate line on the list, so if you want help, ask the counter what we can do for your gun.
Come by with the gun, no appointment needed, at 211 Atlanta Rd in Cumming. We are open Tuesday through Friday 10 to 6 and Saturday 10 to 5. You can also send us a message with your question first.


