

To clean an AR-15, make sure it is empty, split the upper from the lower and pull out the bolt carrier group, then brush the bolt and chamber, run patches through the bore from the chamber end until they come out clean, wipe the lower, oil it where the maker says, and put it back together.
This guide follows the operator’s manual for Colt’s advanced law enforcement carbines, which has a full cleaning and lubrication section for the same basic design that the AR-15 family uses. Your rifle may come apart a little differently or use different pins, and some of Colt’s carbines have settings that a semi-auto AR-15 does not, so read your own maker’s manual too and follow it where it differs.
What You Need
Colt says the kit should have, at a minimum, a good gun oil, cleaning rods, bore patches, a small brush, a bore brush and a chamber brush. It names Break-Free CLP or an equal as the cleaner and lubricant. You also need a dry, lint free cloth. Our post on what goes in a gun cleaning kit covers the basics.
Wear safety glasses. Colt warns that you could lose control of some spring loaded parts. Keep the muzzle pointed in a safe direction the whole time.
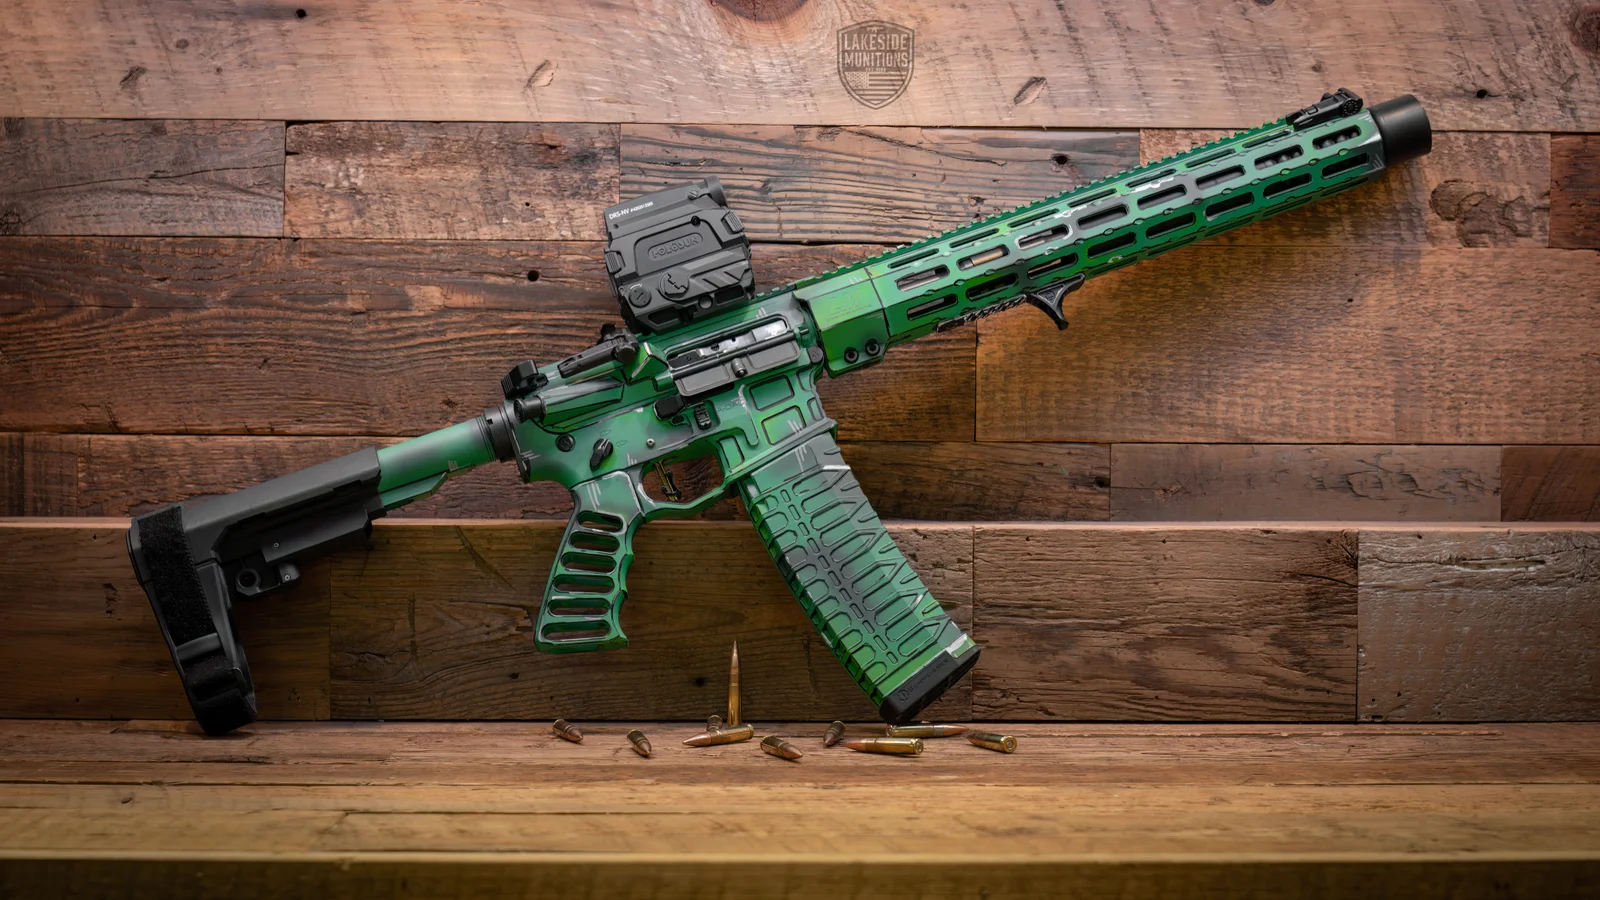
Make It Safe, Then Field Strip the Rifle
Colt’s manual opens its maintenance section with a warning in capital letters: always make sure the firearm is unloaded before field stripping, cleaning, lubricating or putting it together. The NRA’s gun safety rules say the same: keep a gun unloaded until you are ready to use it.
Here is Colt’s field strip, in plain words:
- Put the selector on SAFE.
- Press the magazine release and take out the magazine.
- Pull the charging handle to the rear, look to see the chamber is empty, then let it go.
- With the bolt fully forward, push the takedown pin through to the right until the detent stops it, then pivot the upper away from the lower to expose the back of the bolt carrier.
- Pull the charging handle about three inches to the rear and lift out the bolt carrier assembly.
- Take the charging handle out by lining it up with its slot and pulling it down and back.
Colt adds that an optic or other accessory on the rail can stay on for a routine cleaning. The manual goes on to show how to take the bolt apart, and it also says you do not have to fully separate the upper and lower receivers for a routine cleaning. For a basic clean, you can stop here.
Clean the Bolt, the Chamber and the Bore
Colt’s cleaning procedure covers these parts, in this order:
- The bolt. Use a brush on the bolt, including the back and face of the bolt lugs, the locking lugs, the face of the extractor and the firing pin. Colt notes you should not try to remove the heat discoloration from the bolt carrier. That color is normal.
- The bolt carrier. Wet a patch on a patch holder with bore cleaner and clean the carrier inside and out. Then wipe the bolt and the carrier clean and dry with a cloth.
- The chamber. Wet the chamber brush with bore cleaner, push it into the chamber and turn it several times. Then pull the brush straight through the chamber several times to clean between the locking lugs. Wipe it clean and dry.
- The bore. Push the bore brush through the full length of the bore from the chamber end toward the muzzle, and repeat three times. Then run a clean patch through the whole bore, and keep running fresh patches until one comes out clean and dry.
The cleaning section of the manual has pictures for each step.

Clean the Rest and Oil It the Right Way
Colt says to wipe the buffer assembly, the action spring and the lower receiver to remove dirt, to clean inside the lower and around the parts in it, to wipe the receiver extension tube and stock with a dry cloth, and to wipe all outside surfaces of the upper and lower clean and dry.
Then comes the oil. Colt’s lubrication list is specific, and it says to use CLP or an equivalent:
- Run a lightly oiled patch through the bore. Keep the chamber dry.
- Put one drop of oil on each bolt carrier track.
- Lightly oil the inside of the upper receiver, the outside of the barrel and the front sight.
- Put one drop on the carrier key and one drop on the front sight detent.
- Be generous on the cam pin hole, the bolt rings and the outside of the bolt body, with a light coat on the extractor and its pin.
- Lightly oil the charging handle and the inside and outside of the bolt carrier, and be generous on the sides and the cam pin area of the carrier.
- Lightly oil inside the receiver extension tube.
- Be generous on the takedown and pivot pins and their detents, and lightly oil the moving parts in the lower.
The shape of that list is the lesson: some spots get a lot, some get a drop, and the chamber stays dry. Our post on how often to clean your gun explains why a heavy coat everywhere is a mistake.
Put It Back Together and Check It
Put the rifle back together in the reverse order of the field strip. Then do a function check. Colt’s checks start with removing the magazine and clearing the chamber, then pulling the charging handle back and releasing it. With the selector on SAFE, pulling the trigger should give you no sound, because the hammer should not fall. With the selector on FIRE or SEMI, pulling and holding the trigger should give a click as the hammer falls. Colt says the checks must always be done after cleaning and assembling the rifle, and if it fails one, make sure it is clean and put together right. If it still fails, have a competent gunsmith look at it.
Colt also says a rifle used in salt air, water, mud or sand must be completely taken apart, cleaned and inspected, and that a wet rifle should be cleaned as soon as possible.
When to Bring It In
You can clean the rifle at home, and the maker expects you to. If you would rather hand it off, Lakeside’s gunsmith cleans guns in our shop in Cumming for $35, or $25 if you bought the gun from us. Surface rust cleanup is included during a cleaning, to the best of our ability, and gunsmithing is walk-in. Our posted prices are for a gun in factory condition, and a gun with other changes gets looked at first. Ask the counter about your rifle before you drop it off.
See what a professional cleaning includes and the full gunsmithing price list, or send a question through the contact page. If you bought an AR from a shop and want help mounting an optic after it is clean, our gunsmithing page lists the posted price for that as well.


